Showing posts with label Looted. Show all posts

Tuesday, December 20, 2016

WIP - Ork Looted Tank 2


A lot of work has been completed since my last posting. Many rivets and lots of plasticard later and it is nearly ready for paint.


I added additional styrene to the surfaces using multiple textures including chipped edges, plasma cut, diamond plate, and some dremel work to rough it up in places.

The exhausts were made using styrene tubes. I used a lighter to bend the tubing. The technique makes for some pretty rough bends but that works well for orky things.


I wanted the driver to have a an awesome view port so I cut a Tamiya 1/35th scale oil drum at an angle and put it into place with some green stuff welds.


I made the top hatch from a recovered rhino hatch and some styrene. I outfitted the rear of the hatch with some orky storage including two spare drum magazines for the big shoota, a choppa, and a helmet made from some ork bits and a 1/35th scale German WWII helmet.

The pintle mounted big shoota was made from scrap styrene.


A adorned the top of the tank with an orky antenna and a styrene flag. The flag was made wavy using a lighter to gently heat the plastic until it would take a bend.

The deff rolla was made by gluing rectangles of styrene around a section of the plastic tube my green stuff came in. Those sections were then highlighted with various rivets and topped off with sections of GW tank traps I cut up. Each piece was glued in place and detailed with a green stuff weld. The whole thing was then roughed up with a dremel.


My next step is to create a tank commander for this bad boy. It will be heavily customised. I may even sculpt my own arms for this one.

Monday, November 28, 2016

WIP - Ork Looted Tank

At this year's ModelZona I picked up the blow pictured kit for $10. I thought the aesthetic on the box screamed ORK! So I thought I'd use it to make a looted tank.


After assembling the kit I started to see a bit of where I was going to go with it. I want to replace the top hatch with a larger one. I envision a large ork with a WWII style helmet and goggles. I also want to build in a view port for the driver on the front of the tank's hull.


The treads needed a lot of looting. I used styrene scrap along with pointed hex nuts from MENG.


There's still a lot more work to be done but I'm feeling good about it so far. I think it needs a good wacky antenna, some beefy exhausts, and a nice large dozer blade.

Thursday, April 24, 2014

Ork Looted Leman Russ - WIP

Out here in the Valley of the Sun the heat of Phoenix Arizona can have some unexpected results.  Say for example you leave your Imperial Guard army in your car one day, after a late night of wargaming.  You may return to your car in the morning to find that your Leman Russ has melted, yes... melted.  So what does one do with a horribly warped Leman Russ?  Make it a looted wagon of course! Any critiques and suggestions are welcome.  I think I'm about done with the tank itself. I am working on making some grots out of green stuff to man the sponsons and a large ork to command the tank. 


Tank traps are mounted to front of the tank using a couple of I-beams.  A battle cannon was scratch built from styrene tube and is removable to allow for weapons swaps.  An oil drum has been converted into a rocket launcher.

A deck is added to the rear end of the tank for transport.  The exhausts are rerouted around the deck.

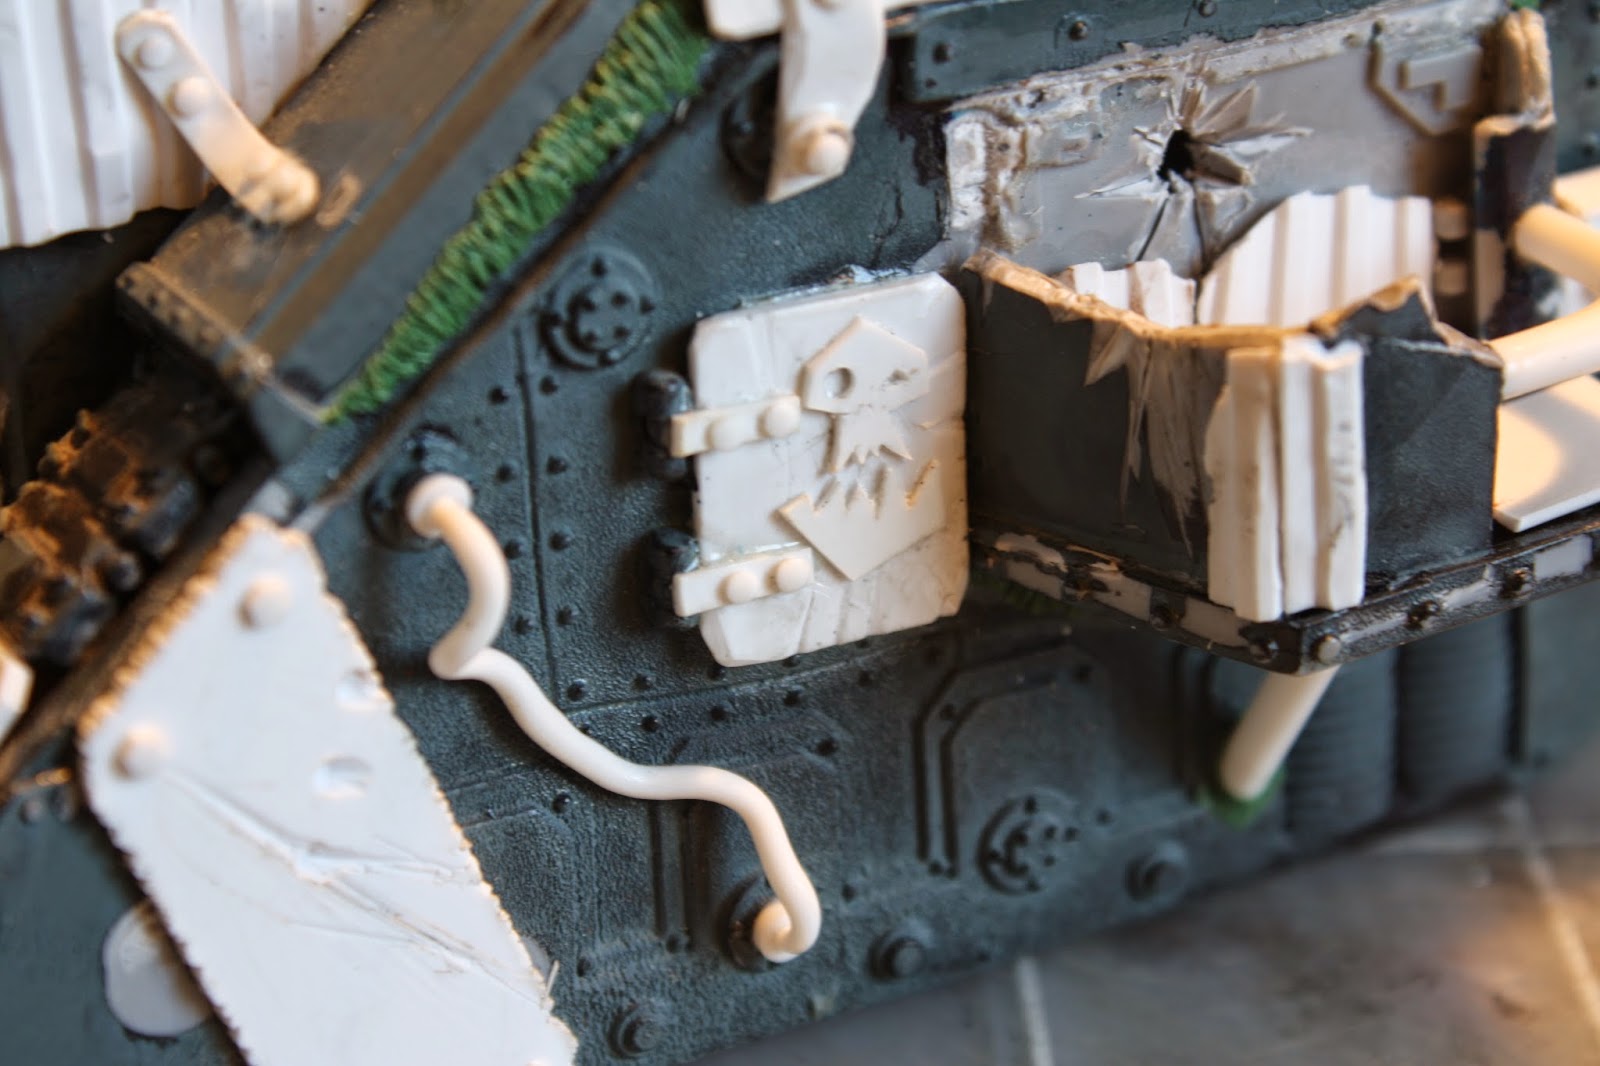
A lascannon power pack powers a spot light. Bits of worne styrene are 'riveted' about the sides of the hull and used to decorate the front of the track guards.

Green stuff was used to create weld lines, styrene rods were bent using the heat of cigarette lighter, and guitar string connects a spotlight to the turret.

Guitar string and Imperial Guard flamer packs were used to detail the engine compartment.

Using some orky pictures for reference, I cut a few ork icons out of thin sheets of styrene.

A great deal of the wear and tear inflicted on the styrene was achieved by chewing on it between my molars.

Here I swapped the driver's position and forward weapon.  I tore apart one end of a styrene tube and further bent the ends after warming them with a lighter to represent an exploded cannon barrel.

Sunday, April 20, 2014

Tutorial - Bolts and Washers


Whether one is detailing Imperial Guard... excuse me, Astra Militarum vehicles, building terrain pieces, or Orkifying some looted vehicles, details such as bolts and other fasteners are essential to bringing a finished look to your model.  Here I'll demonstrate a technique I've used to create bolts with washers.

To complete this project you will need the following:
  • hole punch (with multiple size dies)
  • hobby knife
  • sheet styrene
  • hex stock (hexagonal extruded styrene)
  • glue (plastic weld prefered over super glue)
Use your hole punch to make "washers".  Make sure that the size die you are using is larger than the hex stock.  For added detail make two sizes of "washer" for each fastener, one slightly larger than the other.

Using your hobby knife cut thin slices off of your hex stock.  These should be roughly the same thickness as the sheet styrene you used for the washers.

Here is an example of the two discs and one slice of hex.  These will become our bolt and washers.


Stack the pieces largest to smallest, using a dab of glue between each.  It is easier to place these if you apply the largest piece to the model first and then glue the remaining pieces one at a time on top of each other.  Below is an example of what the above process looks like when applied to a Grot Tank I'm working on.

Don't stop there with various sizes of extruded hexagonal styrene, styrene rod, and your hole punch, you can make all kids of different fasteners.  In the above picture, very small styrene rod was used to create rivets and a different sized hex stock was used to create additional bolt heads.